

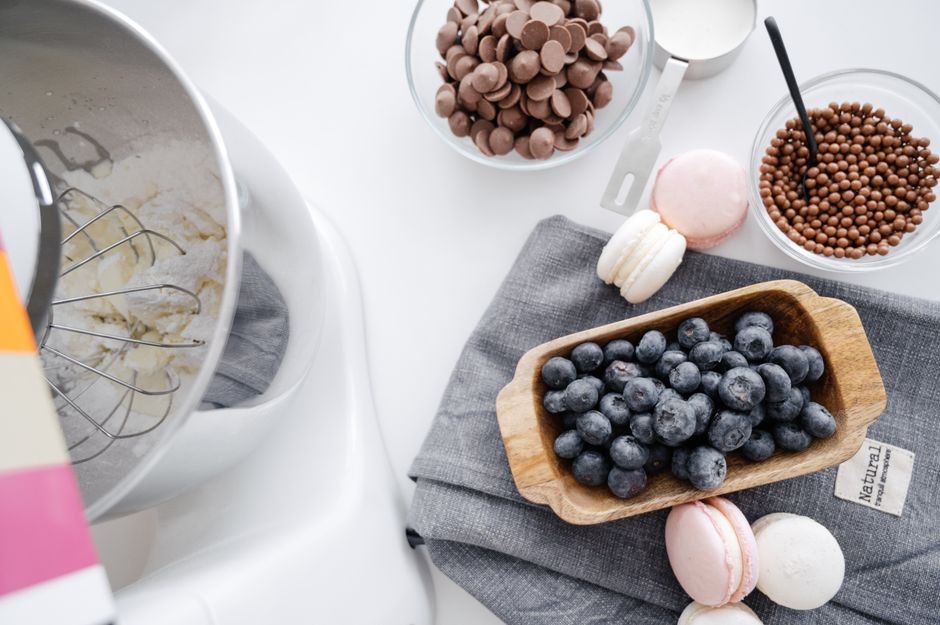
Over 75% of new bakers struggle with stand mixers due to confusion over attachments and settings. It’s easy to make mistakes, like assuming that a whisk is only for eggs or that dough hooks are unnecessary. Understanding how to utilize this appliance can streamline your baking significantly, making it a key player in your kitchen.
Understanding the basics can remove that initial anxiety. With just a little knowledge about its functions, you can confidently make everything from cookie dough to whipped cream. Let’s break down everything you need to know about how to use a stand mixer for beginners, starting with the most crucial point: its components.
The Most Important Parts of a Stand Mixer
A stand mixer has several key parts, and knowing each one can ease the learning curve. First up is the mixer bowl itself. Most bowls hold about 4.5 to 6 quarts, which is good for most recipes, allowing for large batches without any mess. Next is the stand mixer basewhere all the magic happens.
It’s often quite heavy for stability, which is a blessing when you’re mixing tough dough.
Then you have the mixing attachments: the paddle, the whisk, and the dough hook. Each serves a distinct purpose. The paddle attachment is great for mixing batters and cookie dough; the whisk is designed for incorporating air into mixtures, which is perfect for egg whites and whipped cream; and the dough hook is what you need for kneading bread dough efficiently.
Knowing when to use which attachment can save you both time and frustration.
Stand Mixer Settings
Next, let’s talk about the stand mixer settings. Most mixers come with at least three speeds, low, medium, and high. Beginners often default to high, thinking faster is better, but that’s a mistake. Starting at a low speed is key to preventing flour clouds and spills. Save the higher settings for whipping or when you’re mixing ingredients that need a good aeration.
Tip: adjust speeds gradually. Once you’ve mixed things up a bit, you can ramp up to medium to combine thoroughly, and only go high for whipping and beating. Understanding this will prevent over-mixing as well, which is vital, particularly for baked goods like cakes.
Avoiding Common Mistakes
One mistake beginners make is not preparing their ingredients properly before starting. For example, eggs and milk should ideally be at room temperature for optimal emulsification. Measure everything out and have it ready to go. This not only streamlines your process but also ensures that everything mixes evenly from the start.
Another error? Ignoring mixing times. Different recipes will recommend specific mixing times, and it’s tempting to just “eyeball” it. Undermixing can result in dense baked goods, while overmixing could make them tough. Stick closely to the time ratios given in recipes to avoid those pitfalls.
Making the Most of Your Stand Mixer
You can do so much more with a stand mixer than just baking. Use it to make homemade pasta, sausage, or even ice cream! Investing in additional attachments like a pasta maker can drastically expand your culinary capabilities. For someone serious about cooking, this approach is well worth it, as it opens up entirely new avenues for creativity.
It may seem like an unnecessary expense, but if you’re already baking frequently, other attachments will maximize the utility of your stand mixer. Want to make whipped cream quickly? The whisk is your friend. Trying to knead bread? The dough hook will save you time and energy.
Know When to Skip It
While a stand mixer is incredibly versatile, not every recipe requires it. For small tasks like mixing a couple of eggs or a quick sauce, a whisk might be quicker and easier. Before you start pulling out the big equipment, assess the needs of your recipe.
You shouldn’t feel obliged to use the mixer for every single task; sometimes, keeping it simple is the best course of action.
Another instance where you might want to forego the mixer is when you’re mixing small amounts that won’t require the heft of a stand mixer. If you’re making just a single serving of frosting, for example, a hand mixer would work just as well and be more convenient.
Finding Your Rhythm
I recommend starting with a basic stand mixer like the KitchenAid Classic for those new to baking, as it offers versatility at a reasonable price. As you grow more comfortable, consider upgrading to a model with more features, like the KitchenAid Professional, which suits serious bakers looking to experiment. For more information on how to use a stand mixer for beginners, check out this helpful resource: how to use a stand mixer for beginners.
For more, read about budget friendly picks.
We cover beginners how to choose in more depth separately.
Frequently Asked Questions
What can you make with a stand mixer?
With a stand mixer, you can make a variety of baked goods, including bread, cookies, cakes, and pastries. It’s also useful for whipping cream, mixing dough, and preparing meringues.
How do you use a stand mixer properly?
To use a stand mixer properly, begin by securely attaching the bowl and selecting the appropriate mixing attachment. Start at a low speed to prevent ingredients from splattering, then gradually increase the speed as needed for the recipe.
Why use a stand mixer for baking?
Using a stand mixer for baking can save you time and effort, as it efficiently mixes and kneads ingredients with minimal manual labor. It provides consistent results and allows you to multitask while the mixer handles the mixing.
Is a stand mixer worth it for beginners?
Yes, a stand mixer is worth it for beginners because it simplifies the baking process and ensures thorough mixing of ingredients. This appliance can be a valuable investment that enhances your baking experience as you learn new recipes.
Can you knead dough in a stand mixer?
Yes, you can knead dough in a stand mixer using the dough hook attachment, which is designed specifically for this purpose. This allows for efficient kneading, making it easier to develop gluten and achieve a good dough consistency.



Leave a Reply