

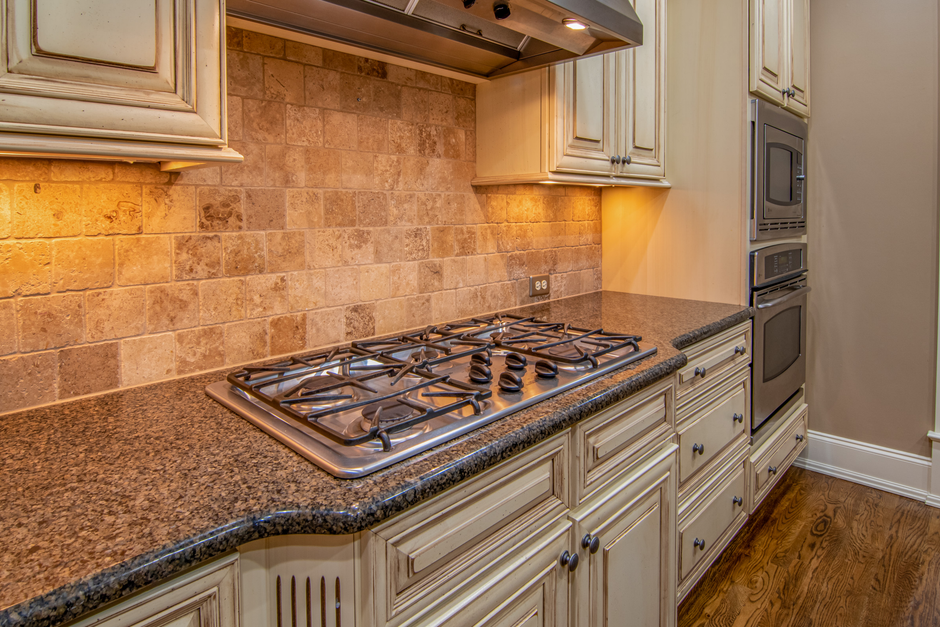
Installing a tile backsplash can cost anywhere from $10 to $30 per square foot, making it an affordable home improvement project. While the task may seem daunting, a clear approach can lead to impressive results without needing a contractor. I've gathered practical steps to help you install a tile backsplash effectively and confidently.
When I decided to add a backsplash in my kitchen, I found it was all about preparation. From selecting the right materials to utilizing the correct tile cutting techniques, every step matters. This guide will break down the installation process clearly, so you’ll have the knowledge to tackle this renovation project head-on.
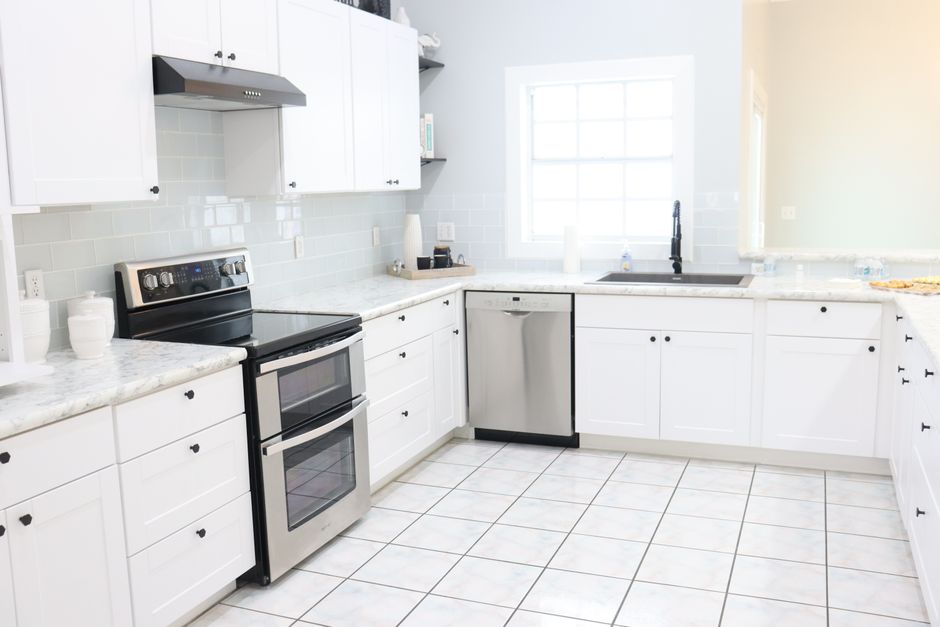
Costs and Materials for Your Backsplash Project
First, let’s talk about costs. Depending on the tile you choose, you could spend anywhere from $2 to $25 per square foot. For instance, classic subway tiles usually cost around $3 to $7 per square foot, while handcrafted tiles could rise to $20 or more. In addition to tile, you should factor in the cost of adhesive, grout, and any necessary tools.
Altogether, a basic tile backsplash installation can range from $150 to $500.
Now, regarding materials, you’ll need the following:
- Tiles of your choice
- Thin-set mortar or tile adhesive
- Grout
- Tile spacers
- Utility knife or tile cutter
- Notched trowel
- Sponge for cleaning
- Level
- Caulk
Collecting these materials ahead of time will save you from making multiple trips to the store, which I’ve done far too many times.
Preparing Your Wall for Installation
The next step is preparing your wall. Start by cleaning the surface where you’ll install the tile to ensure the adhesive sticks properly. If you have an existing backsplash or wall finish, remove it to reveal clean, dry drywall or cement board.
I recommend checking the wall with a level to make sure it’s even; any imperfections can lead to misaligned tiles and headaches down the road.
Once the wall is clean and prepped, consider marking guidelines on the wall with a pencil. This can help you while placing the tiles and keep everything symmetrical. A simple guideline running horizontally can help you align the first row of tiles and establish a straight reference point.
Adhesive Application Techniques
Now we come to the adhesive application, which is crucial for a successful backsplash. Depending on the type of tiles you’re using, you might want to use thin-set mortar or premixed adhesive. I prefer thin-set for its strong bonding properties.
Using a notched trowel, spread the adhesive onto a small section of the wall. Here’s a tip: only apply enough for the space where you’ll be placing tiles within 10 to 15 minutes. This keeps the adhesive workable. The notch size on your trowel should correspond to the tile size, smaller tiles need a smaller notch, and larger tiles may need a larger notch.
Tile Cutting Techniques
Cutting tiles is where many DIYers stumble. The good news is that it’s not as hard as it may seem. A manual tile cutter works great for straight cuts, but for intricate shapes or corners, a tile saw or snap cutter is beneficial.
Always wear safety glasses when cutting tiles to protect your eyes from small shards. When measuring for cuts, double-check your measurements before making any cuts; I’ve learned the hard way that a small miscalculation can lead to moments of frustration.
Step-by-Step Tile Backsplash Installation Process
Now it’s time for the fun part, installing the tiles! Start by placing the first tile in the corner or along your guidelines. Press it firmly into the adhesive and slightly twist it to set it in place. Insert tile spacers between the tiles to ensure even gaps for grouting later. Continue this process across the first row before moving to subsequent rows.
As you work your way up, always check that the tiles are level. Consider using a level frequently to avoid any crooked lines. If you’re aiming for a staggered look, be sure to cut tiles for the next row before starting. This will maintain consistency and a professional look.

Finishing Touches and Grout Application
Once all your tiles are installed and the adhesive has dried (refer to the adhesive manufacturer’s guidelines for drying time), it’s time to grout. Mix the grout according to the package instructions. Apply it with a grout float, working it into the spaces between the tiles and removing excess as you go.
After the grout has set for about 15 to 30 minutes, clean the tiles with a damp sponge to remove any grout haze. This step is crucial; if left too long, the haze will be difficult to clean. After the grout dries completely (usually about 24 hours), consider sealing it to prevent stains and moisture damage.
Your Beautiful Backsplash Awaits
Installing a tile backsplash is not just about aesthetics; it’s an opportunity to boost your kitchen renovation efforts while adding personal flair. By following these steps, you can create a stunning focal point without hiring a contractor. Collect your materials, prepare your wall, and tackle that installation with confidence. Remember, practice makes perfect, and don’t be discouraged by minor setbacks.
If you’re also dealing with budget considerations during your renovation, I recommend checking out my guide on how to renovate an apartment on a budget. Plus, for more tips on increasing your home’s appeal, take a look at my article on cheap home renovation ideas.
See also our take on smart lights easily.
See also our take on smart lights easily.
Frequently Asked Questions
What is the easiest way to install a backsplash?
The easiest way to install a backsplash is to use peel-and-stick tiles, which eliminate the need for mortar and grout. You simply clean the surface, measure and cut the tiles as needed, and then stick them directly to the wall.
How long does it take to install a tile backsplash?
Installing a tile backsplash typically takes one to two days, depending on the complexity of the design and the preparation needed. This includes time for setting the tiles and allowing the adhesive and grout to cure.
Is it hard to install a backsplash yourself?
Installing a backsplash can be manageable for a DIYer with some basic tools and skills, especially if using peel-and-stick options. However, traditional tile installation requires more skill, including measuring, cutting, and applying grout.
Can you install a backsplash without removing cabinets?
Yes, you can install a backsplash without removing cabinets, as it typically extends from the countertop to the bottom of the upper cabinets. Care should be taken to ensure a neat finish by using painter's tape to protect cabinet edges.
Why use grout for tile backsplash installation?
Grout is used in tile backsplash installation to fill the gaps between tiles, providing structural integrity and preventing water from seeping behind the tiles. Additionally, grout enhances the aesthetic appeal and makes the surface easier to clean.
To learn more about how to install a tile backsplash, it’s essential to understand proper techniques and materials.


Leave a Reply