
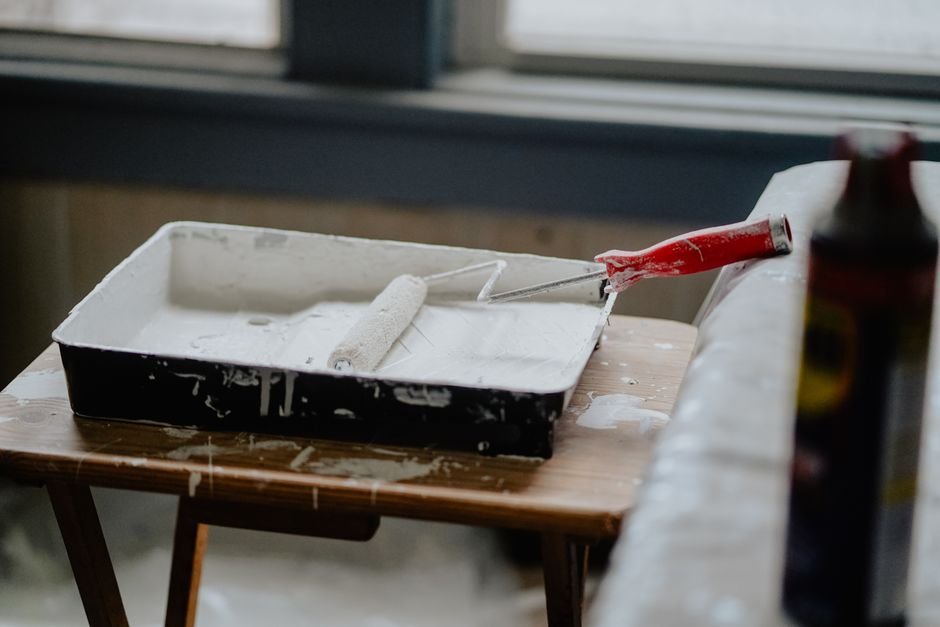
Around 30% of homeowners encounter issues like peeling paint or streaky finishes during renovation projects. These unanticipated problems can quickly escalate costs and extend timelines. Addressing common painting challenges right away can help you streamline the process and ensure a more polished outcome.
The truth is, most people overlook critical elements like wall preparation and paint drying time. These can lead to flaws that become apparent only after your paint has dried, resulting in heartache. I’ve learned through experience that knowing common pitfalls is crucial to a successful painting project.
Identifying Common Painting Issues
First on the list is poor adhesion, which often manifests as peeling paint after a few days. You might think it’s a matter of simply slathering on more paint, but the real culprit is usually inadequate wall preparation. If your walls have dust, grease, or previous paint layers that haven’t been properly sanded, the new paint will struggle to adhere.
Always clean your walls and use a primer when necessary to create a suitable surface.
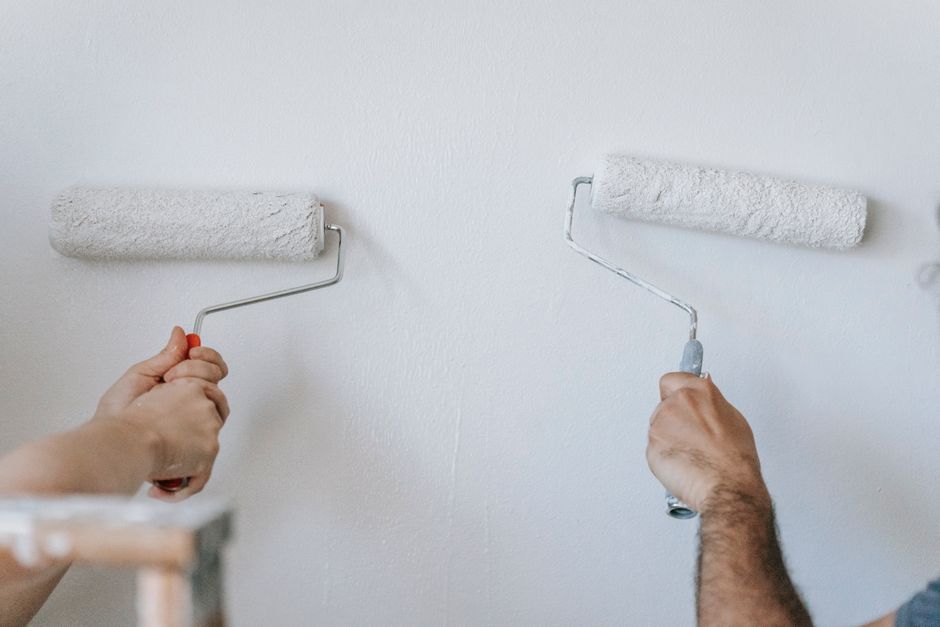
Another frequent issue I’ve noticed is the appearance of roller marks. This can occur if you’re using the wrong type of roller or aren’t applying enough pressure while rolling. It’s essential to use the right nap length for the surface you’re painting; for smooth walls, a short nap is preferable, while textured walls require longer naps to ensure an even finish.
Paint Drying Time and Conditions
You might think it’s just a simple matter of waiting for paint to dry, but environmental factors can significantly impact drying times. For example, if you’re painting in a humid environment, the drying process can take twice as long. Always check the product label; manufacturers provide recommended drying times, which can vary depending on conditions.
Temperature also plays a critical role in drying time. I’ve found that it’s best to paint when temperatures are between 50°F to 85°F (10°C to 30°C). If you’re painting in colder temperatures, you risk having the paint dry too slowly, which can lead to sags and drips.
Preventive Measures for Flawless Results
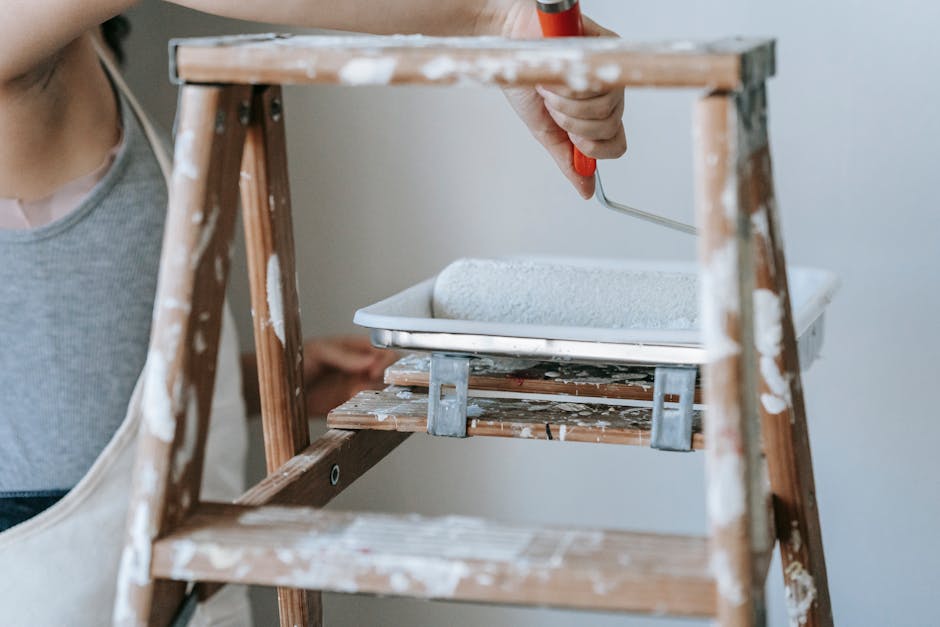
To achieve that flawless finish you desire, thorough wall preparation is a game changer. Invest time in patching any holes or cracks and sanding down rough spots. Don’t cut corners on primer either; it’s worth using it for a consistent surface and better adhesion. I’ve regretted skipping this step on multiple occasions, only to have to sand and repaint.
Also, make sure to use the appropriate painting tools. A high-quality brush or roller can make a significant difference. Cheaper brushes can leave bristle marks, and inferior rollers may shed fibers. I recommend investing in good quality tools; they last longer and provide a superior finish.
Worth reading alongside this: organizer not fitting.
Worth reading alongside this: organizer not fitting.
Conclusion: Navigating Common Troubles with Confidence
For best results, invest in high-quality paint and tools, as they significantly reduce the likelihood of errors. For those with a limited budget or time constraints, opt for ready-mixed paint that still delivers decent coverage. Paying attention to detail during preparation and allowing adequate drying time will yield the best results.
Frequently Asked Questions
How do I fix streaky paint finish?
To fix a streaky paint finish, lightly sand the affected areas with fine-grit sandpaper to smooth out imperfections and then apply an additional coat of paint. Ensure you're using even strokes and a consistent amount of paint on your brush or roller to avoid streaks in the future.
Why does paint bubble and how can I prevent it?
Paint bubbles can form due to moisture trapped beneath the paint surface or applying paint too thickly. To prevent bubbling, ensure the surface is thoroughly dry and clean before painting, and apply thin, even coats.
What causes paint to peel after renovation?
Paint can peel after renovation due to poor surface preparation, applying paint over dirty or glossy surfaces, or inadequate drying time between coats. To minimize peeling, properly clean and prepare the surface, and ensure each coat has dried completely before applying the next.
Is it important to prime walls before painting?
Yes, priming walls before painting is crucial as it provides better paint adhesion, improves the paint's durability and finish, and helps cover any stains or imperfections. It also ensures that the final color appears more vibrant and even.
Can humidity affect my painting results?
Humidity can significantly affect painting results by slowing the drying time and potentially causing issues like bubbling or peeling. It's best to paint in low humidity conditions to ensure proper adhesion and a smooth finish.



Leave a Reply